
Providing OEM, Wholesale and Retail Services Worldwide.

How to use and read a dial caliper correctly ?
1.
About Dial Caliper
2.
Preparation
3.
Taking the measurement
4.
Maintenance
Nowadays, the dial caliper has become considerably more popular than the venire caliper. The reason is simple: compared to the venire caliper, a dial caliper is much easier to use and read. Additionally, compared to the digital calipers, a dial caliper is more durable.
The dial caliper features the beam lock, dial, depth rod, dial calibration lock, main scale, two fixed jaws and two moveable jaws. The two upper jaws and the two lower jaws are used to measure inside areas and outside areas respectively. The depth rod can measure the depth of the holes or crevices. The most outstanding feature of it is that a dial indicator mounted on the movable jaw which provides a direct reading in inches or millimeters. Inch-type dial calipers are accurate to 0.001�?while millimeter dial calipers are accurate to 0.02mm or 0.01mm. Metric dial calipers typically measure from 0 to 150mm (6 inch); however, there are also 300mm (12 inch) dial calipers. They come in two versions. Perhaps more common is the type with 0.02 millimeter divisions on the dial face and in which one full revolution of the pointer corresponds to 2 millimeters. The other version is the 0.01 millimeter division; one revolution of the dial indicator needle equals 1 mm. The main scale of a British Imperial dial caliper is divided into one-thousandth (0.001) inch graduations. Therefore, one revolution of the dial indicator needle equals one-tenth inch on the bar scale. On a metric dial calipers the bar scale is divided into 2-mm increments.
Below are the basic steps to use the millimeter dial caliper which are accurate to 0.01mm correctly:
2. Preparation
Step 1: Dry and clean the measuring surface of the item being
measured with clean cloth (or soaked with cleaning oil);
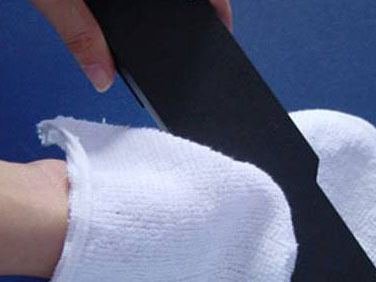
Step2: Dry and clean the protective sticker of the dial caliper
with clean cloth (or soaked with cleaning oil);
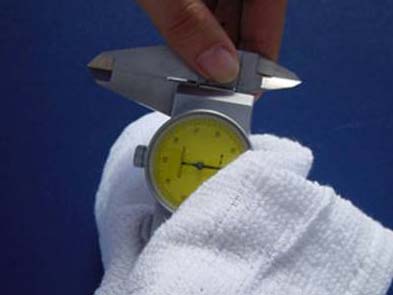
Step3: Loosen the beam lock of the dial caliper.
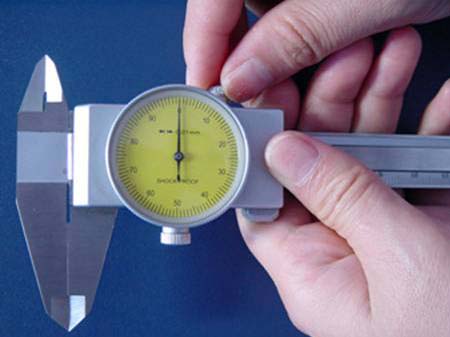
Step4: Dry and clean all the measuring surfaces of the four jaws of the caliper with clean cloth (or soaked with cleaning oil);
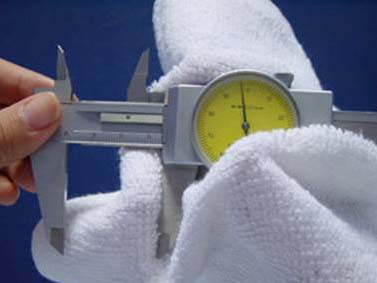
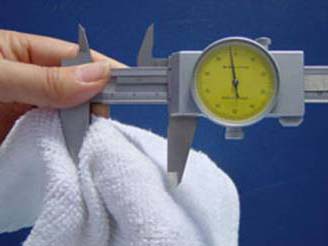
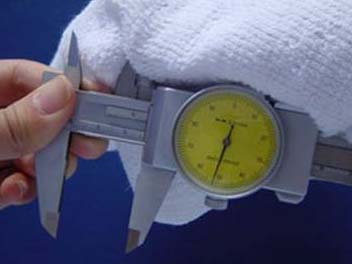
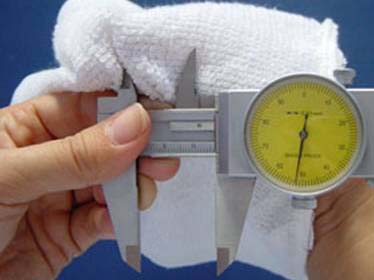
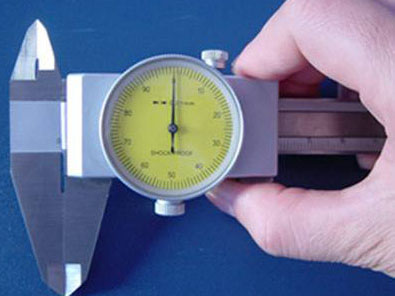
Step5: Then fully close the dial caliper to check whether the
needle points to 0 or not. If it points to 0, then you can begin
to take a measurement.
3. Taking the Measurements
During the process of taking the measurement, bear in mind that do
not touch the measuring surface of the material being measured and
the measuring surfaces of the dial calipers with your hands for it
might result in inaccuracy due to the sweat on your hands. You
need to keep them clean all the time. Similarly to the digital
calipers, dial calipers can also take the outside, inside, step
and depth measurements.
(1) Taking the outside measurements:
Step1: Open the lower jaws of the dial caliper on the outside
parts of the item by sliding the movable jaws of the dial
caliper.
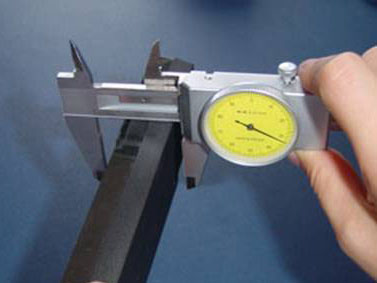
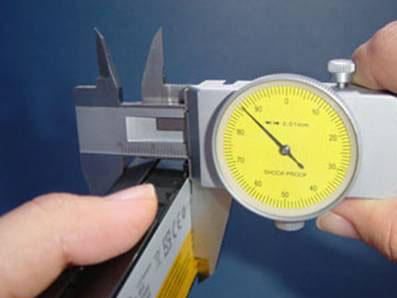
Step2: Hold the material being measured in your left hand, then
move the measuring jaws on the object being measured. Make sure
the caliper jaws lay flat on or around the object. If the jaws are
tilted in any way, you will not obtain an accurate measurement.
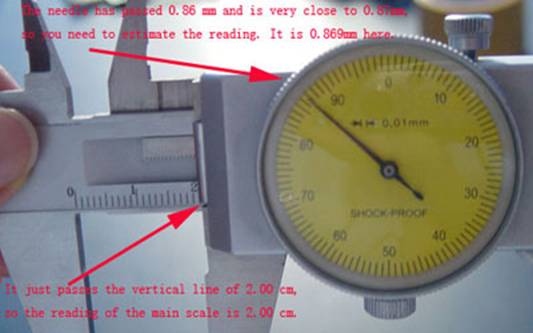
Step3: Read the measured value. As shown, the main scale value is
first determined by reading the value shown to the left of the
reference edge. In this case the measurement value is 2.00cm.
(Each vertical line on the main scale represents 1cm, namely,
10mm.) Then read the value on the indicator dial. The needle has
pointed to 0.86 mm and is very close to 0.87mm, so you need to
estimate the reading. It is 0.869mm here. (The indicator dial is
graduated into 100 equal divisions, each having a value of
0.011mm.) Finally, add the two reading together and the total
reading is 20.869mm...
(2) Taking the inside measurements:
Step1: Firstly, insert the internal jaws of the dial caliper into
the hole.
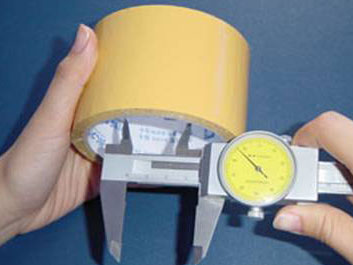
Step2: Secondly, open the internal jaws up to fit the hole
perfectly.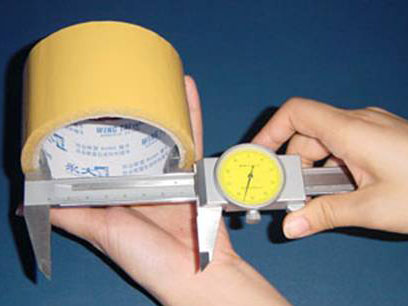
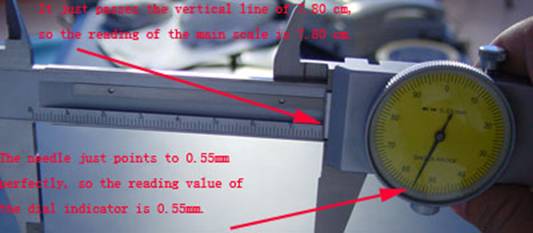
Step3: Read the measured value. Here, the main scale value is
7.80cm; the value on the indicator dial is 0.55mm. The total
reading is 78.55mm.
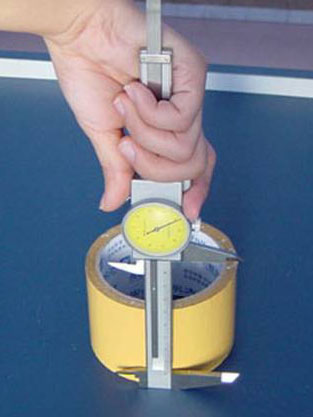
3) Taking the step measurements: It is
vital important that when you take the step measurement the item
being measured must be put on the hard and flat plane.
Step1: Put the head of the dial caliper on the plane and make sure
that the step measuring face is perpendicular to the plane.
Step2: Make the step measuring face of the upper movable jaw
touch the top surface of the object completely, and then the
measurement is done.
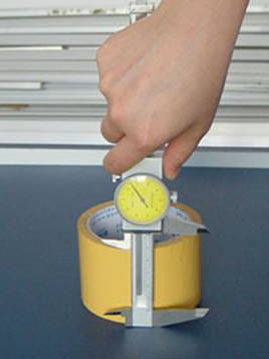
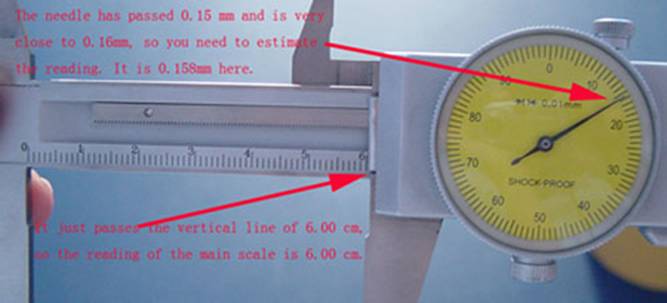
Step3: Get the reading. As shown, the main scale value is 6.00cm,
and the value on the indicator dial is 0.158mm. The total reading
is 60.158mm.
(4) Taking the depth measurements:
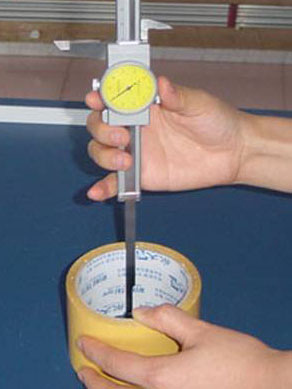
Step1: Insert the depth bar into the whole while sliding the
movable jaws of the dial caliper and adjust the depth bar
perpendicular to both the hard, flat plane and the internal side
of the item.
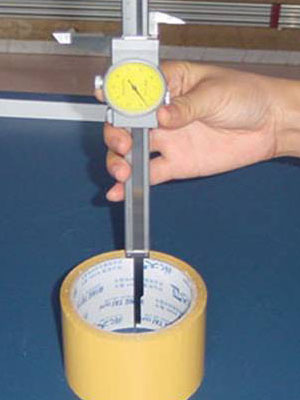
Step2: Move the slider with only enough
pressure until the end of the fixed scale contact the top surface
of the item perfectly.
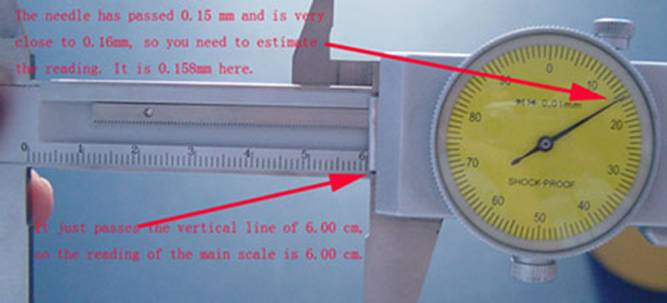
Step 3: Read the value on the main scale, it is 6.00cm. Then read
the value on the dial indicator. It is 0.158mm. The total reading
is 60.158mm.
Clean the measuring surface of the dial caliper with dry and clean cloth after finishing the measurement. Dial calipers should be stored in a dry, humid free location, and checked often for correct calibration. They can be wiped off with oil, but any build-up of oil will collect dirt. Also it should be checked frequently for wear.
Buy Dial Calipers Online Now!
